


LED Strip Lights Installation Guide
Follow this easy guide to help you create the look you’ve been dreaming of with the best results. We’re also here if you need other design and installation tips or answers to any questions—let’s make your project a success!
UL Listing and Compliance Information
Our LED Strip Lights are UL-listed in the USA and Canada. This means they are safe to use and free from any hazardous substances. To comply with UL standards and inspections, please keep in mind that:
- A Class 2 power supply must be used with each run of lights.
- Each installation of LED strip lights in series should consume no more than 100W max.
Español
- Debe utilizarse un transformador de Clase 2 cuando sea necesario ajustarse a las normas de seguridad UL.
- La instalación no debe exceder un máximo de 100W cuando se conecten en serie las cintas LED.
Français
- Pour être conforme aux règles de sécurité, une source d'alimentation de Classe 2 doit être utilisée.
- L'installation ne doit pas dépasser un total de 100W lorsque les rubans LED sont montées en série.
Installation Instructions
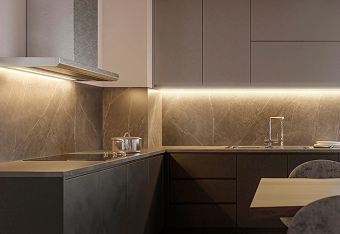
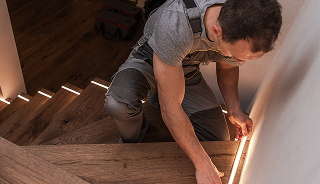
We know you’ve got a clear vision and a stunning end result in mind. All it needs now is the right technical planning, like where your driver and dimmer will go. Your LED strip light should be installed on a clean, flat surface using the 3M adhesive backing or mounting clips. We recommend aluminum so your strip stays cool and works its best for years to come.
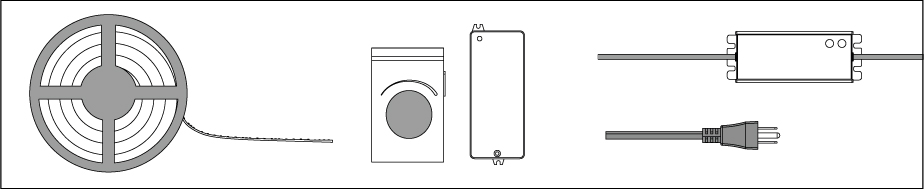
1. Component Check
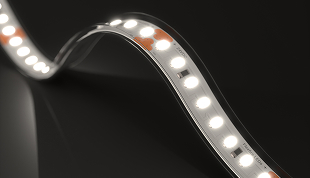
On a clean surface, gently unroll the LED strip lights from the plastic reel and lay out all components. Make sure you have everything you need to complete the installation:
Double-check that your power supply matches the voltage of your LED strips and can handle the entire load of the LEDs.
For longer runs of LED strips, be mindful of the strip’s maximum run length. If you need a longer run than the maximum, you may need to install the strips in parallel from the power source.
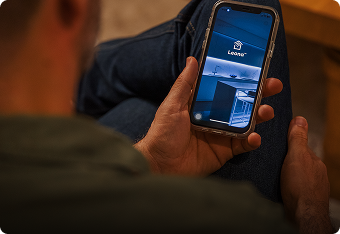
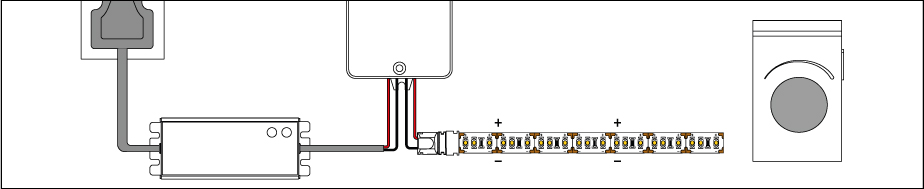
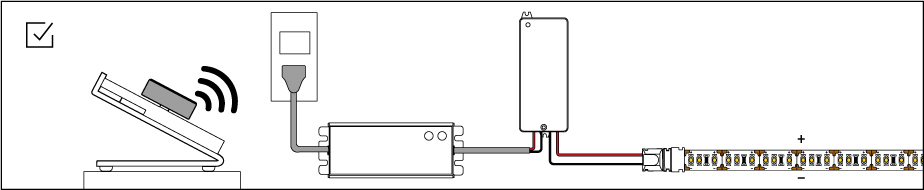
2. Mock Installation
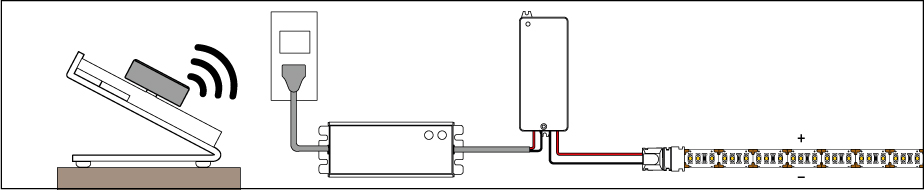
Before peeling the adhesive backing or cutting the strip, complete a mock installation to test and turn on your lights. Connect your LEDs to your dimmer and power supply.
Note: In this example, we are using a wireless controller and receiver.
3. Troubleshoot If Needed
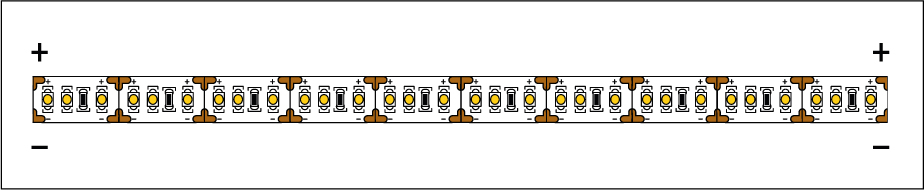
The strips should light up. If they don’t, please check your connections and make sure the polarities from the power supply to the LED strip match (positive to positive, negative to negative).
The strip has markings (+ and - symbols) to indicate polarity.
4. Check Your Components
Verify that the chosen brightness and color temperature match your vision.

5. Turn Power Off at the Circuit Breaker
Turn off the power to the LED strip light and power supply. Then, disconnect the strip from the power supply or controller.
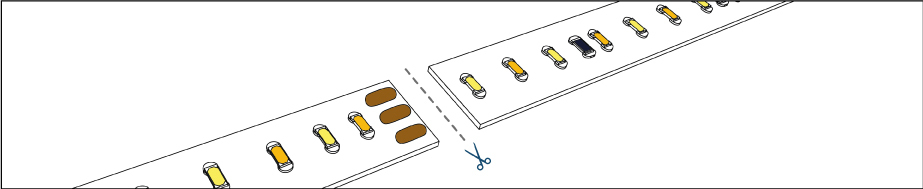
6. Cut the LED Strip Light to the Required Length
If you need to cut your LED strip light, measure the length needed and cut along the indicated cut marks using sharp scissors. Make sure to cut on the copper pads, not on the solder joints.
When installing outdoor-rated strips, such as IP65 or IP67 strips, ensure all ends are sealed using neutral-cure silicone sealant and the appropriate end cap to prevent moisture damage.
Note: Cutting outdoor-rated strips will void their IP rating, as any modifications cannot guarantee the integrity of the IP protection.
Special Cases When Using Solderless Grip Connectors
When installing solderless connectors with the following LED strip lights, whether you are using the indoor or the outdoor version, you will need extra copper pad space:
- Accent™
- Architectural™ Tunable White
- Accent™ Tunable White
- Sienna™ Dim-to-Warm
- RGB 600
Cut both solder pads so the strip section has enough surface area to fit securely into the connector head.
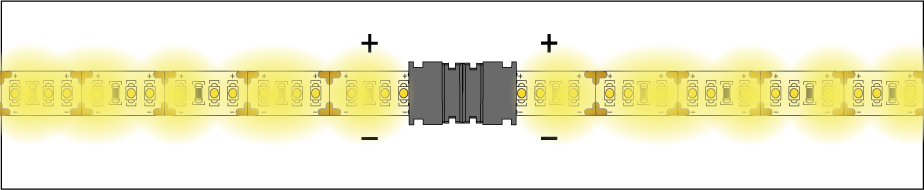
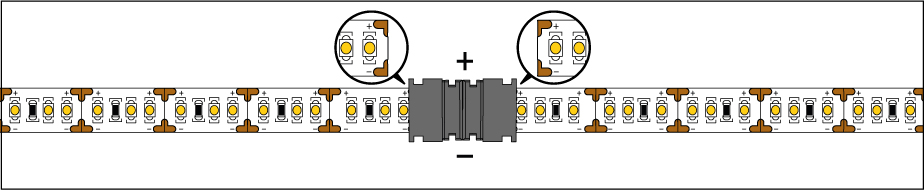
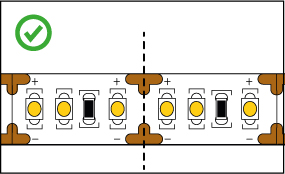
7. Make Sure Polarities Are Matched Throughout the Setup
When installing separate segments of the LED strip together, either by soldering or using connectors, always ensure that the polarity is matched from one strip to the next. In other words, always match the + and - markings.
8. Retest Your Setup
Test the strip again to make sure it lights up and is functioning properly before the final installation. Once you have verified all segments are working, you’re ready to install them.
9. Prepare Your Surface for Installation
Thoroughly clean any surface where you will be attaching your LED strip lights. The adhesive backing is strong, but it will not stick to dirty or dusty surfaces.

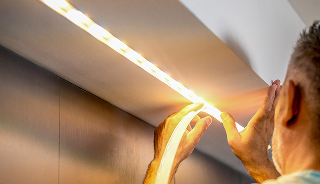
10. Attach the LED Strip Light
Peel the cover of the 3M adhesive backing a few inches at a time while gently pressing the strip against the installation surface. Make sure the strip is firmly attached to the surface.

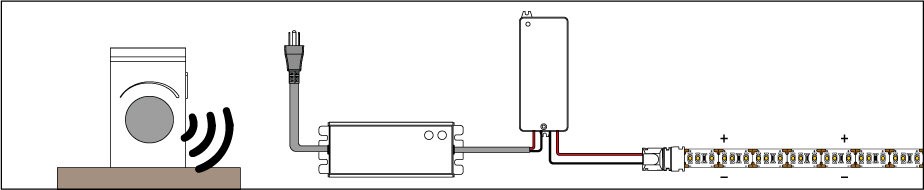
11. Complete All Connections
Complete the connections and wiring between your power supply, dimmers, controllers, or connectors.
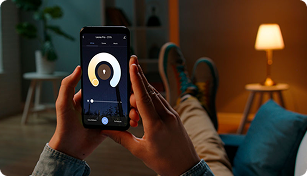
12. Enjoy Your Lights!
Turn the power back on at the circuit breaker and enjoy the glow!

Because of our commitment to you, we stand by our products. We are always available to answer any questions or troubleshoot any unlikely issues.
Warranty
We've got you with our industry-leading coverage!
We use the highest-quality components in our LED strip lights, drivers, controllers, and accessories. We know you don’t run your lights 24/7, so we’ve shaped our warranty to reflect your day-to-day use and long-lasting performance.
For that reason, we offer industry-leading 15-year coverage on most of our LED strip lighting products and prolonged warranties on drivers, controllers, dimmers, and accessories. Please read our warranty policy to learn about timeframes and exceptions.
Safety & Disclosures
-

1. To meet UL requirements, only install with a Class 2 DC Constant Voltage LED driver.
-

2. Do not turn on your LED strip when it is still in the plastic reel. Doing so will cause heat buildup that can damage the LEDs.
-
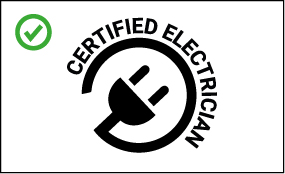
3. Installation must comply with local and national electrical code regulations. A qualified, licensed electrician should install your strips for safety and proper installation.
-

4. Do not connect the DC strip directly to an AC wall outlet.
-

5. Do not twist, fold or crease the LED strip.
-
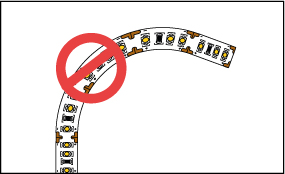
6. Do not bend LED strips horizontally (sideways). They are only intended to bend vertically.
-

7. Do not place excessive pressure on the LED surface.
-

8. Pay attention to the input voltage of the LED strip light and never exceed it, not even briefly.
-
9. Only cut the LED strips on the designated cut markings or as specified on the spec sheet.
Need Help Finishing the Job?
We’ve covered the basics. But if something’s not quite adding up or your setup looks a little different, we're here to help!