

LED Setup Guide
Lighting projects can feel tricky or too technical, whether it’s your first time or your tenth. But we’re here to make it easy for you.
Try our time-saving, intuitive Project Builder to handle every detail for you, or follow this simple five-step guide to get everything set up just right. And if you ever need help with installation, information about our products, design tips, or planning your next project, our team of experts is ready to jump in!
Your LED Setup in 5 Simple Steps
Step 1
Envision It
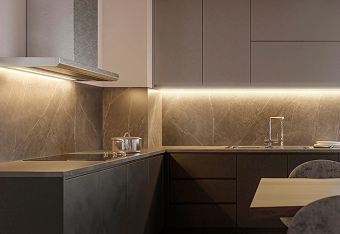
First, determine the right kind of light for your project. Are you lighting your kitchen from early breakfast to late-night snacks? Or setting the mood on your patio for evening get-togethers? We’ve got long-lasting lights for the job!
Consider how bright you want it to be, the colors you need, and whether it will be exposed to the weather.
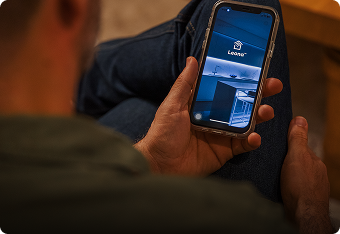
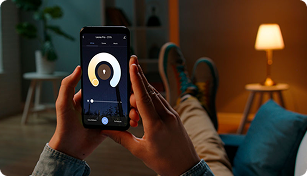
All Flexfire lights are compatible with our Leona® Smart App:
Step 2
Control It
There are many ways to control your lighting. You can choose a remote, a wall dimmer switch, a sensor, or even a convenient, one-stop system like our Leona® Smart Home. It all depends on the lights you selected.
If you’re using single-color lights, a traditional dimmer switch like Lutron® or Leviton® is a great choice. Just make sure your setup includes a dimmable LED driver and a compatible dimmer switch.
Want more flexibility? Our Leona® Pro Smart Home Controller works with most of our LED strip lights—like our Architectural™series and our all-in-one RGB + tunable white. Just connect a controller box to your lights and use the Leona® Smart app to manage everything from your phone.
You can also add a wireless remote or a stylish wall panel for easy control without a smart device. If you’re using digital pixel LED strip lights, go with the Leona® Digital Controller.
Step 3
Power It
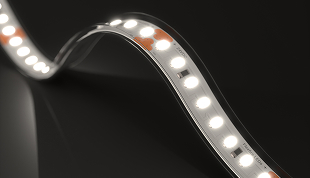
Most LED strip lights use low-voltage power, which means you’ll need a power supply (also called a driver) for them to work. For simple DIY setups, a plug-in driver is the easiest choice. For a more advanced, heavy-duty install, go with a hardwired option.
Just make sure your power supply matches your LED lights in both voltage and wattage, and that it’s rated for your specific space, whether indoors or outdoors. You’ll find this info in your product’s specs and user guide, as well as right on our site when you’re ready to order.
All Flexfire lights are compatible with our Leona® Smart App:
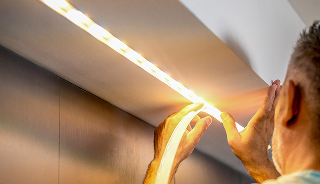
Step 4
Connect It
Your lighting setup is a complete circuit, so both your lights and the driver need to be properly connected. If you’re a DIY enthusiast or just want to save time, we offer easy, solderless connectors that make installation a breeze. If you’re a pro, soldering is also an option.
If you have a gap between light sections, you can add extra wire to bridge the distance.
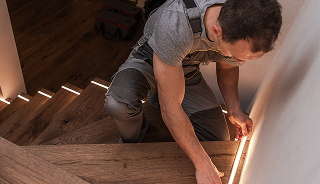
Step 5
Place It
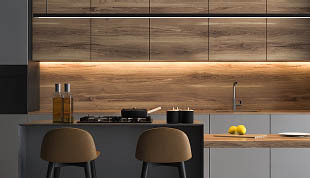
Mounting channels are a great way to upgrade LED strip lights. Think of them as a lampshade for your strips—they give your lighting a sleek, finished look, help reduce glare when the lights face you directly, and even extend their life.
Just pick the channel that best fits your install, peel and stick your strips onto it, and then add a frosted or matte cover to diffuse the glow and prevent harsh spots. Or choose a clear cover if softening isn’t needed, especially if the strip isn’t shining directly at you.
Light It!
You deserve the best lighting for your space. That’s why we’re committed to providing high-quality options and exceptional support throughout your experience.
These steps will set your project up for success. But we're always here if you have questions—just contact us!