


")
4 Steps to Cut LED Strip Lights (& Where To Cut)
If your LED light strip is too long for your project, you might end up with extra length that looks messy or doesn’t fit well. On top of that, cutting the strip in the wrong place can lead to dead spots that won’t light up.
This guide shows you how to safely trim your strip to the right size, avoid common problems, and keep everything working. Let’s dive in.
1. Power Down the Strip
Before you do anything else, always disconnect your LED strip from the power supply, battery pack, or controller. Even though LED strips run on low voltage, you still don’t want to risk getting a shock or frying the strip while you’re cutting it. Wait a few seconds after unplugging to make sure there’s no power still running through the strip.
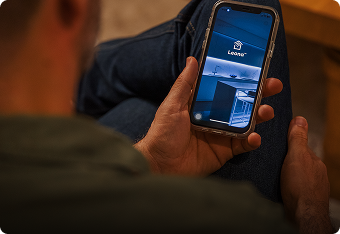
If your strip is wired into a wall switch or tied into a smart home system, make sure that circuit is switched off too. It’s a good habit to double-check that the lights are completely off by watching closely for signs of flickering or glowing before you start work. You can also check for voltage on the solder pads using a multimeter to be sure. Once everything is powered down, you're ready to move forward with a clean and safe setup.
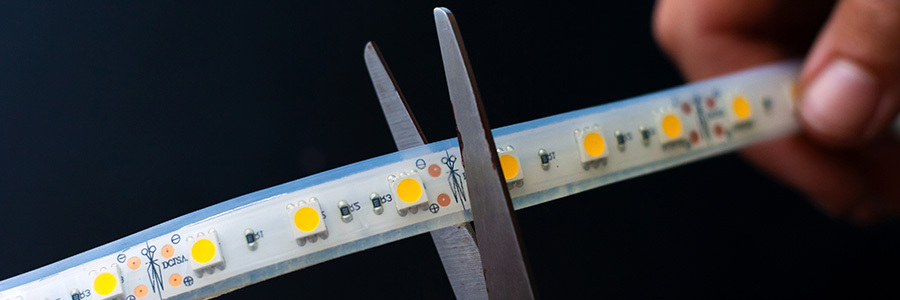
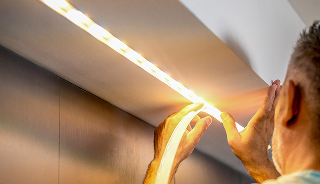
2. Find the Cut Line
Now take a good look at the strip. Most LED strips are designed with cut points spaced every few inches. Cut points are often indicated by a small line or scissors icon printed across a pair of copper pads. These marks are placed to help you cut safely without damaging the segments. If you’re not sure, you can always check the manufacturer’s instructions to determine the best spot for cutting.
- Look for evenly spaced cut points indicated by a dotted line or scissors icon.
- Avoid cutting anywhere without this marking to prevent damage to the strip.
- Lay the strip out flat and use sharp scissors to make a clean cut along the indicated line.
Cutting along the indicated line keeps the connection intact so the strip keeps working after the cut. If you cut in the wrong spot, you might damage the segment and cause that section of the strip to stop working. Before you cut, measure the space where your strip will go and find the cut line closest to your desired length.
Keep in mind that cutting techniques for outdoor LED strips may differ depending on the model. Many products can be cut using the method described above, but it’s always worth checking the manufacturer’s instructions to be sure.
3. Add Connectors (If Needed)
After you’ve made the cut, you might need to use the leftover piece elsewhere or reconnect the strip to extend it. In this case, you’ll need to use solderless connectors or solder the pieces together yourself.
Solderless connectors are user-friendly and come in several shapes for straight and corner connections. Just make sure to use the right type of connector based on your strip—such as single-color, tunable white, RGB, RGBW, or RGB + tunable white—and follow the manufacturer’s instructions for installation.
If you’re more experienced with soldering, you can connect LED strips by attaching wires directly to the copper pads. This takes more time and care but can give you a cleaner and more permanent connection.
4. Test the Lights
Before you install your lights permanently, always test them. Connect the strip back into your power source and turn it on. Every section should light up the way it did before you made any cuts.
If part of it doesn’t turn on, take a closer look at your connections.
Check that the copper pads are fully lined up inside the connector or that your solder joints are solid. Re-seat the connector if needed and press everything into place. Finally, double check the polarity to make sure the positive (+) and negative (-) are lined up correctly. This step saves you time in the long run by catching issues early.
Final Thoughts
With a little preparation and the right tools on hand, cutting LED strip lights can be quick and easy. The key is to measure carefully and adhere to the manufacturer’s instructions so your strip stays functional and looks clean once it’s installed.
- Measure your space and locate the cut mark before doing anything else. Always cut at the copper pad markers so you don’t break the circuit. Once you’ve made the cut, test the lights before installing anything permanently.
- Save leftover strip pieces in case you need them for another area.
- Reseal waterproof strips with silicone or a proper end cap.
Avoid bending the strip right at the cut and take your time for the cleanest result. A few extra minutes of care now can save you from having to redo the project later.